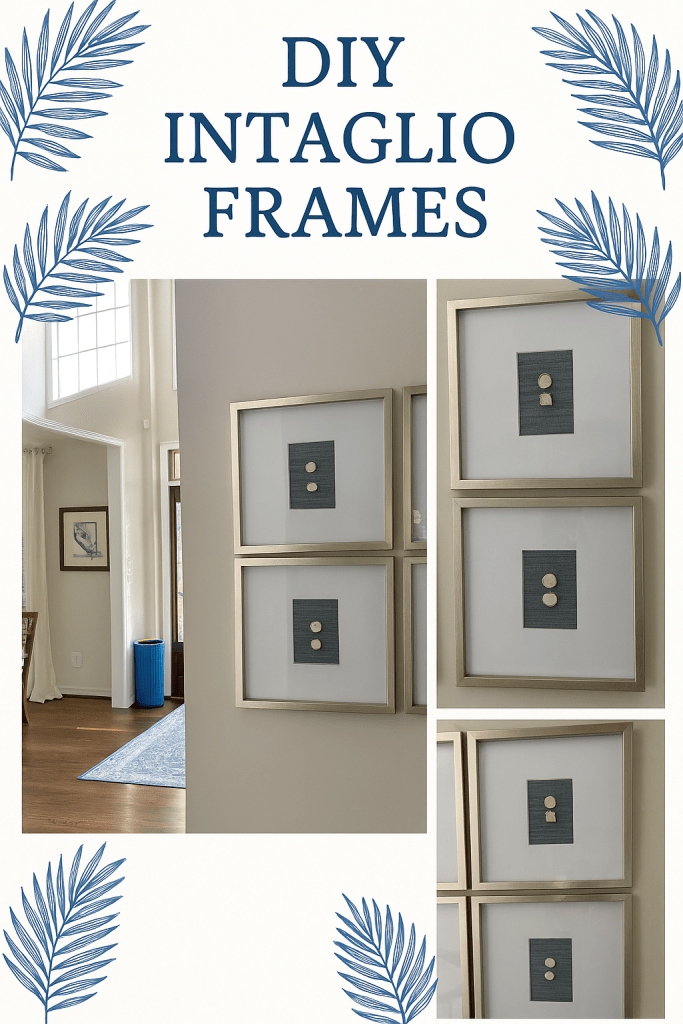
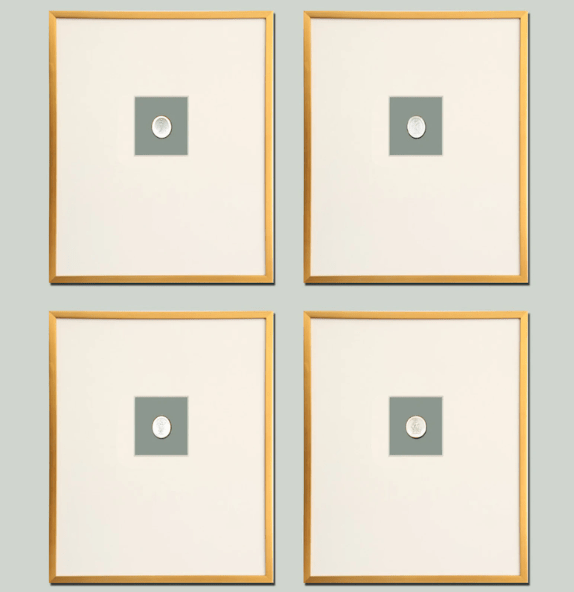
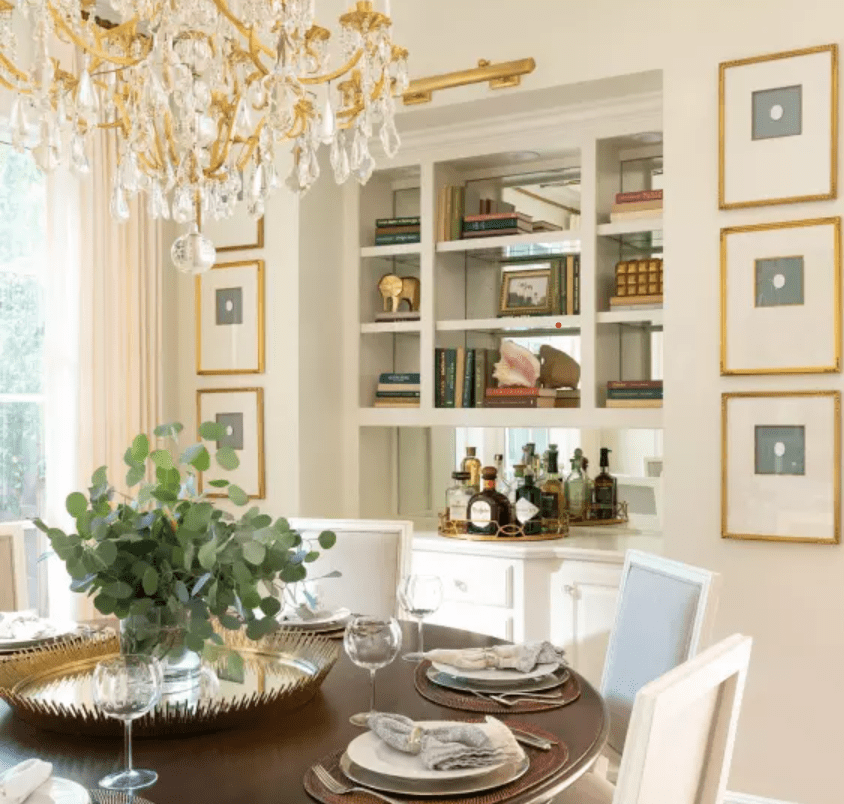
I love the style of traditional intaglio art and have seen a lot more of it around since moving from the Northeast to South Carolina a few years ago. I have tried to find these pieces locally and searched the web and Etsy as well. But I kept running into the same two issues; PRICE and frame color. I was really looking for silver finish frames to hang in my hallway, and as I don’t have much gold in that area of my house most of the options I found didn’t work. Of course, I swooned over the options from Ballard but balked at the price tag! I do not have $1,000 to spend on this project, my husband would kill me!
So, I took to Pinterest and Amazon (of course) to figure out how I could DIY my own intaglio pieces. It was incredibly easy, here’s how:
- Supplies needed for this DIY:
- Frames of choice – Mikasa 16×16 Frames on Amazon
- Molds of choice
- Crayola Air Dry Modeling Clay on Amazon
- Craft paint in the color of your choice (or skip this if keeping the intaglios white) – I used FolkArt Gold on Amazon
- A few pieces of cardboard or cardstock
- Peel and stick wallpaper or craft paper for the matting of your intalgio – I used this denim blue peel and stick from Amazon
- Hot glue gun
Amazon has a wide array of molds that can be used for this project. From floral designs to fleur de lis to Grecian busts, they seemed to have something for everyone. I chose these “Victorian Cameo” molds for their floral designs and size variety. Yes, I guess these are technically for cupcake decorating but can absolutely be used for this project’s purposes.
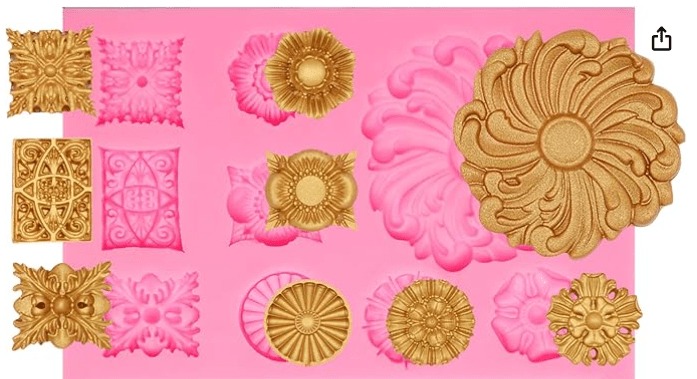
Add your mold to your Amazon order along with this Crayola Air Dry modeling clay and craft paint you may want to use for this project and you’re all set.
Next, choose your frames. I needed to fill a wall in my foyer and four 16″x16″ frames were the best fit for me. I ordered these Mikasa frames from Amazon.
You’ll also need to decide what background you’ll be using for the intaglios, I went with a peel and stick grasscloth wallpaper from Amazon in a denim blue color.
Once everything I’d ordered had finally arrived at my house I got started.
Process:
- Fill the molds with the Crayola Air Dry Clay. Try to smooth out the back so that you can glue these to your cardboard a bit easier later. Then set these out to dry for about two days.
- While the clay was drying I measured my cardboard pieces to fit the mat opening in my frames. I just used a pair of scissors to cut the cardboard. Then covered each piece with the peel and stick wallpaper. If you’re using wallpaper or craft paper with a pattern make sure you’re aware of how you’re placing each piece, I had to redo mine to ensure the grasscloth pattern was vertical on all pieces.
- Once the clay is dry you can remove from the mold, I had no problem removing these by just gently peeling them out of the mold.
- Use a craft paintbrush to paint the intaglio where you choose. Or skip this step altogether if choosing not to paint. Allow the paint to dry.
- Determine where you’d like to place the intaglio on your mat (cardboard + paper), using a ruler and pencil to mark this was a big help so each frame looked the same. Glue the intaglio to the mat and let dry.
- Once dry add the pieces back into your frame. Hang wherever you choose and admire your hard work!
